
高层 API:TextDetectionModel 与 TextRecognitionModel
在本教程中,我们将详细介绍 TextRecognitionModel 和 TextDetectionModel 的 API。
TextRecognitionModel
Section titled “TextRecognitionModel”在当前版本中,cv::dnn::TextRecognitionModel 仅支持基于 CNN+RNN+CTC 的算法, 并提供了用于 CTC 的贪心解码方法。 更多信息请参阅原始论文。
在识别之前,你应当 setVocabulary 和 setDecodeType。
- “CTC-greedy”,文本识别模型的输出应当是一个概率矩阵。
其形状应为
(T, B, Dim),其中T是序列长度B是 batch 大小(推理时仅支持B=1)Dim是词表长度 +1(CTC 的 ‘Blank’ 位于 Dim 的 index=0 处)。
- “CTC-prefix-beam-search”,文本识别模型的输出应当是一个与 “CTC-greedy” 相同的概率矩阵。
- 该算法由 Hannun 的论文提出。
- 可以使用
setDecodeOptsCTCPrefixBeamSearch来控制搜索步骤中的 beam size。 - 为了针对大词表进一步优化,引入了一个新的选项
vocPruneSize,以避免遍历整个词表, 而只遍历概率最高的vocPruneSize个 token。
cv::dnn::TextRecognitionModel::recognize() 是用于文本识别的主要函数。
- 输入图像应当是一张裁剪出的文本图像,或带有
roiRects的图像 - 未来可能会支持其他解码方法
TextDetectionModel
Section titled “TextDetectionModel”cv::dnn::TextDetectionModel API 提供以下用于文本检测的方法:
cv::dnn::TextDetectionModel::detect()以std::vector<std::vector<Point>>的形式返回结果(4 点四边形)cv::dnn::TextDetectionModel::detectTextRectangles()以std::vector<cv::RotatedRect>的形式返回结果(类似 RBOX)
在当前版本中,cv::dnn::TextDetectionModel 支持以下算法:
- 使用 cv::dnn::TextDetectionModel_DB 配合 “DB” 模型
- 使用 cv::dnn::TextDetectionModel_EAST 配合 “EAST” 模型
下面提供的预训练模型是 DB 的若干变体(含/不含可变形卷积), 其性能可参见论文中的表 1。 更多信息请参阅官方代码。
你可以用更多数据训练自己的模型,并将其转换为 ONNX 格式。 我们鼓励你向这些 API 添加新的算法。
TextRecognitionModel
Section titled “TextRecognitionModel”crnn.onnx:url: https://drive.google.com/uc?export=download&id=1ooaLR-rkTl8jdpGy1DoQs0-X0lQsB6Fjsha: 270d92c9ccb670ada2459a25977e8deeaf8380d3,alphabet_36.txt: https://drive.google.com/uc?export=download&id=1oPOYx5rQRp8L6XQciUwmwhMCfX0KyO4bparameter setting: -rgb=0;description: The classification number of this model is 36 (0~9 + a~z). The training dataset is MJSynth.crnn_cs.onnx:
url: https://drive.google.com/uc?export=download&id=12diBsVJrS9ZEl6BNUiRp9s0xPALBS7kt
sha: a641e9c57a5147546f7a2dbea4fd322b47197cd5
alphabet_94.txt: https://drive.google.com/uc?export=download&id=1oKXxXKusquimp7XY1mFvj9nwLzldVgBR
parameter setting: -rgb=1;
description: The classification number of this model is 94 (09 + az + A~Z + punctuations).
     The training datasets are MJsynth and SynthText.
crnn_cs_CN.onnx:url: https://drive.google.com/uc?export=download&id=1is4eYEUKH7HR7Gl37Sw4WPXx6Ir8oQEGsha: 3940942b85761c7f240494cf662dcbf05dc00d14alphabet_3944.txt: https://drive.google.com/uc?export=download&id=18IZUUdNzJ44heWTndDO6NNfIpJMmN-ulparameter setting: -rgb=1;description: The classification number of this model is 3944 (0~9 + a~z + A~Z + Chinese characters + special characters).     The training dataset is ReCTS (https://rrc.cvc.uab.es/?ch=12).
更多模型可以在[这里](https://drive.google.com/drive/folders/1cTbQ3nuZG-EKWak6emD_s8_hHXWz7lAr?usp=sharing)找到,它们取自 [clovaai](https://github.com/clovaai/deep-text-recognition-benchmark)。你可以通过 [CRNN](https://github.com/meijieru/crnn.pytorch) 训练更多模型,并使用 `torch.onnx.export` 转换模型。
### TextDetectionModel-
DB_IC15_resnet50.onnx: url: https://drive.google.com/uc?export=download&id=17_ABp79PlFt9yPCxSaarVc_DKTmrSGGf sha: bef233c28947ef6ec8c663d20a2b326302421fa3 recommended parameter setting: -inputHeight=736, -inputWidth=1280; description: This model is trained on ICDAR2015, so it can only detect English text instances.
-
DB_IC15_resnet18.onnx: url: https://drive.google.com/uc?export=download&id=1vY_KsDZZZb_svd5RT6pjyI8BS1nPbBSX sha: 19543ce09b2efd35f49705c235cc46d0e22df30b recommended parameter setting: -inputHeight=736, -inputWidth=1280; description: This model is trained on ICDAR2015, so it can only detect English text instances.
-
DB_TD500_resnet50.onnx: url: https://drive.google.com/uc?export=download&id=19YWhArrNccaoSza0CfkXlA8im4-lAGsR sha: 1b4dd21a6baa5e3523156776970895bd3db6960a recommended parameter setting: -inputHeight=736, -inputWidth=736; description: This model is trained on MSRA-TD500, so it can detect both English and Chinese text instances.
-
DB_TD500_resnet18.onnx: url: https://drive.google.com/uc?export=download&id=1sZszH3pEt8hliyBlTmB-iulxHP1dCQWV sha: 8a3700bdc13e00336a815fc7afff5dcc1ce08546 recommended parameter setting: -inputHeight=736, -inputWidth=736; description: This model is trained on MSRA-TD500, so it can detect both English and Chinese text instances.
我们将在未来于[这里](https://drive.google.com/drive/folders/1qzNCHfUJOS0NEUOIKn69eCtxdlNPpWbq?usp=sharing)发布更多 DB 模型。
- EAST:Download link: https://www.dropbox.com/s/r2ingd0l3zt8hxs/frozen_east_text_detection.tar.gz?dl=1This model is based on https://github.com/argman/EASTText Recognition:url: https://drive.google.com/uc?export=download&id=1nMcEy68zDNpIlqAn6xCk_kYcUTIeSOtNsha: 89205612ce8dd2251effa16609342b69bff67ca3
Text Detection:url: https://drive.google.com/uc?export=download&id=149tAhIcvfCYeyufRoZ9tmc2mZDKE_XrFsha: ced3c03fb7f8d9608169a913acf7e7b93e07109b文本识别示例
Section titled “文本识别示例”步骤 1. 加载图像和带词表的模型
    // Load a cropped text line image    // you can find cropped images for testing in "Images for Testing"    int rgb = IMREAD_COLOR; // This should be changed according to the model input requirement.    Mat image = imread("path/to/text_rec_test.png", rgb);
    // Load models weights    TextRecognitionModel model("path/to/crnn_cs.onnx");
    // The decoding method    // more methods will be supported in future    model.setDecodeType("CTC-greedy");
    // Load vocabulary    // vocabulary should be changed according to the text recognition model    std::ifstream vocFile;    vocFile.open("path/to/alphabet_94.txt");    CV_Assert(vocFile.is_open());    String vocLine;    std::vector<String> vocabulary;    while (std::getline(vocFile, vocLine)) {vocabulary.push_back(vocLine);    }    model.setVocabulary(vocabulary);
步骤 2. 设置参数
    // Normalization parameters    double scale = 1.0 / 127.5;    Scalar mean = Scalar(127.5, 127.5, 127.5);
    // The input shape    Size inputSize = Size(100, 32);
    model.setInputParams(scale, inputSize, mean);
步骤 3. 推理
std::string recognitionResult = recognizer.recognize(image); std::cout << "'" << recognitionResult << "'" << std::endl;
输入图像:
输出:
'welcome'文本检测示例
Section titled “文本检测示例”步骤 1. 加载图像和模型
// Load an image // you can find some images for testing in "Images for Testing" Mat frame = imread("/path/to/text_det_test.png");步骤 2.a 设置参数(DB)
    // Load model weights    TextDetectionModel_DB model("/path/to/DB_TD500_resnet50.onnx");
    // Post-processing parameters    float binThresh = 0.3;    float polyThresh = 0.5;    uint maxCandidates = 200;    double unclipRatio = 2.0;    model.setBinaryThreshold(binThresh) .setPolygonThreshold(polyThresh) .setMaxCandidates(maxCandidates) .setUnclipRatio(unclipRatio)    ;
    // Normalization parameters    double scale = 1.0 / 255.0;    Scalar mean = Scalar(122.67891434, 116.66876762, 104.00698793);
    // The input shape    Size inputSize = Size(736, 736);
    model.setInputParams(scale, inputSize, mean);
步骤 2.b 设置参数(EAST)
    TextDetectionModel_EAST model("EAST.pb");
    float confThreshold = 0.5;    float nmsThreshold = 0.4;    model.setConfidenceThreshold(confThresh) .setNMSThreshold(nmsThresh)    ;
    double detScale = 1.0;    Size detInputSize = Size(320, 320);    Scalar detMean = Scalar(123.68, 116.78, 103.94);    bool swapRB = true;    model.setInputParams(detScale, detInputSize, detMean, swapRB);
步骤 3. 推理
    std::vector<std::vector<Point>> detResults;    model.detect(detResults);
    // Visualization    polylines(frame, results, true, Scalar(0, 255, 0), 2);
    imshow("Text Detection", image);    waitKey();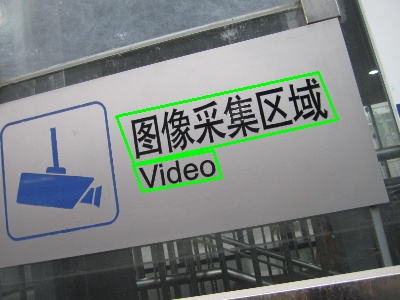
输出:
文本识别 + 检测(Text Spotting)示例
Section titled “文本识别 + 检测(Text Spotting)示例”按照上述步骤之后,很容易获得输入图像的检测结果。 随后,你可以进行变换并裁剪出文本图像以供识别。 更多信息请参阅详细示例
    // Transform and Crop    Mat cropped;    fourPointsTransform(recInput, vertices, cropped);
    String recResult = recognizer.recognize(cropped);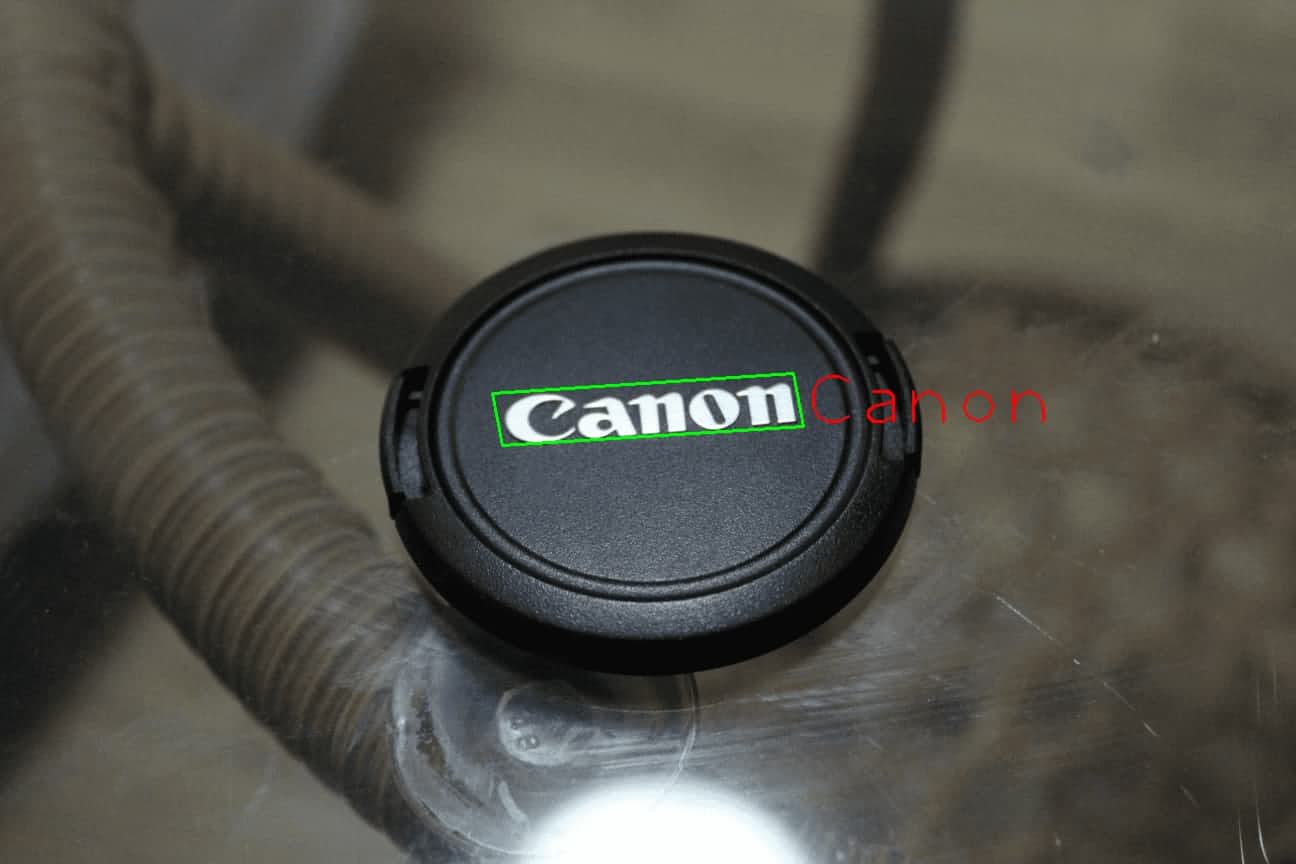
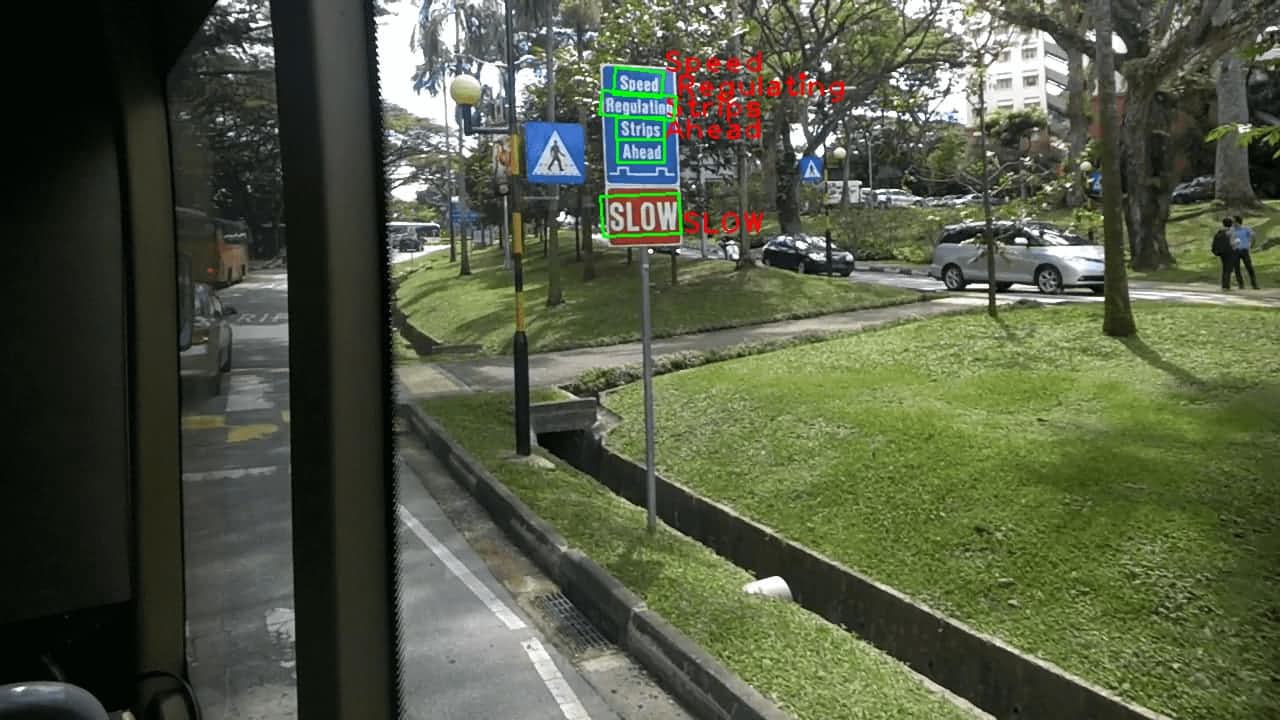
输出示例:
这些 API 的源代码 可以在 DNN 模块中找到。
更多信息请参阅:
- samples/dnn/scene_text_recognition.cpp
- samples/dnn/scene_text_detection.cpp
- samples/dnn/text_detection.cpp
- samples/dnn/scene_text_spotting.cpp
用一张图像测试
Section titled “用一张图像测试”示例:
example_dnn_scene_text_recognition -mp=path/to/crnn_cs.onnx -i=path/to/an/image -rgb=1 -vp=/path/to/alphabet_94.txtexample_dnn_scene_text_detection -mp=path/to/DB_TD500_resnet50.onnx -i=path/to/an/image -ih=736 -iw=736example_dnn_scene_text_spotting -dmp=path/to/DB_IC15_resnet50.onnx -rmp=path/to/crnn_cs.onnx -i=path/to/an/image -iw=1280 -ih=736 -rgb=1 -vp=/path/to/alphabet_94.txtexample_dnn_text_detection -dmp=path/to/EAST.pb -rmp=path/to/crnn_cs.onnx -i=path/to/an/image -rgb=1 -vp=/path/to/alphabet_94.txt在公开数据集上测试
Section titled “在公开数据集上测试”文本识别:
测试图像的下载链接可以在测试图像一节中找到。
示例:
example_dnn_scene_text_recognition -mp=path/to/crnn.onnx -e=true -edp=path/to/evaluation_data_rec -vp=/path/to/alphabet_36.txt -rgb=0example_dnn_scene_text_recognition -mp=path/to/crnn_cs.onnx -e=true -edp=path/to/evaluation_data_rec -vp=/path/to/alphabet_94.txt -rgb=1文本检测:
测试图像的下载链接可以在测试图像一节中找到。
示例:
example_dnn_scene_text_detection -mp=path/to/DB_TD500_resnet50.onnx -e=true -edp=path/to/evaluation_data_det/TD500 -ih=736 -iw=736example_dnn_scene_text_detection -mp=path/to/DB_IC15_resnet50.onnx -e=true -edp=path/to/evaluation_data_det/IC15 -ih=736 -iw=1280