
RGBD images(RGBD 图像)
译者注:原教程包含大量渲染的可视化效果图,本译文未包含这些图片。请运行文中的代码以查看相应的可视化结果。
Open3D 有一种用于图像(image)的数据结构。它支持多种函数,例如 read_image、write_image、filter_image 和 draw_geometries。一个 Open3D Image 可以直接与 NumPy 数组相互转换。
一个 Open3D RGBDImage 由两幅图像组成:RGBDImage.depth 和 RGBDImage.color。我们要求这两幅图像配准到同一个相机坐标系,并具有相同的分辨率。下面的教程展示如何从若干知名 RGBD 数据集中读取和使用 RGBD 图像。文中的示例代码假设已导入以下模块:
import open3d as o3dimport numpy as npimport matplotlib.pyplot as pltRedwood 数据集
Section titled “Redwood 数据集”本节展示如何从 Redwood 数据集 [Choi2015] 中读取并可视化一个 RGBDImage。
Redwood 格式将深度存储为 16 位单通道图像。其整数值表示以毫米为单位的深度测量值。这是 Open3D 解析深度图像的默认格式。
print("Read Redwood dataset")redwood_rgbd = o3d.data.SampleRedwoodRGBDImages()color_raw = o3d.io.read_image(redwood_rgbd.color_paths[0])depth_raw = o3d.io.read_image(redwood_rgbd.depth_paths[0])rgbd_image = o3d.geometry.RGBDImage.create_from_color_and_depth( color_raw, depth_raw)print(rgbd_image)Read Redwood dataset[Open3D INFO] Downloading https://github.com/isl-org/open3d_downloads/releases/download/20220301-data/SampleRedwoodRGBDImages.zip[Open3D INFO] Downloaded to /home/runner/open3d_data/download/SampleRedwoodRGBDImages/SampleRedwoodRGBDImages.zip[Open3D INFO] Created directory /home/runner/open3d_data/extract/SampleRedwoodRGBDImages.[Open3D INFO] Extracting /home/runner/open3d_data/download/SampleRedwoodRGBDImages/SampleRedwoodRGBDImages.zip.[Open3D INFO] Extracted to /home/runner/open3d_data/extract/SampleRedwoodRGBDImages.RGBDImage of sizeColor image : 640x480, with 1 channels.Depth image : 640x480, with 1 channels.Use numpy.asarray to access buffer data.默认的转换函数 create_rgbd_image_from_color_and_depth(即 RGBDImage.create_from_color_and_depth)从一对彩色图像和深度图像创建一个 RGBDImage。彩色图像被转换为灰度图像,以 float 存储,取值范围为 [0, 1]。深度图像以 float 存储,表示以米为单位的深度值。
转换后的图像可以作为 NumPy 数组进行渲染。
plt.subplot(1, 2, 1)plt.title('Redwood grayscale image')plt.imshow(rgbd_image.color)plt.subplot(1, 2, 2)plt.title('Redwood depth image')plt.imshow(rgbd_image.depth)plt.show()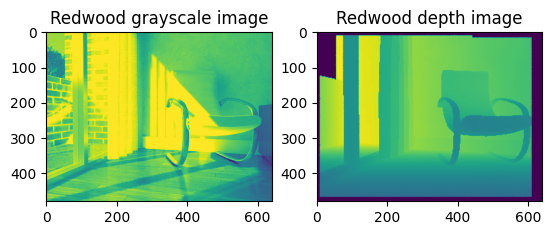
在给定一组相机参数的情况下,RGBD 图像可以转换为点云。
pcd = o3d.geometry.PointCloud.create_from_rgbd_image( rgbd_image, o3d.camera.PinholeCameraIntrinsic( o3d.camera.PinholeCameraIntrinsicParameters.PrimeSenseDefault))# Flip it, otherwise the pointcloud will be upside downpcd.transform([[1, 0, 0, 0], [0, -1, 0, 0], [0, 0, -1, 0], [0, 0, 0, 1]])o3d.visualization.draw_geometries([pcd])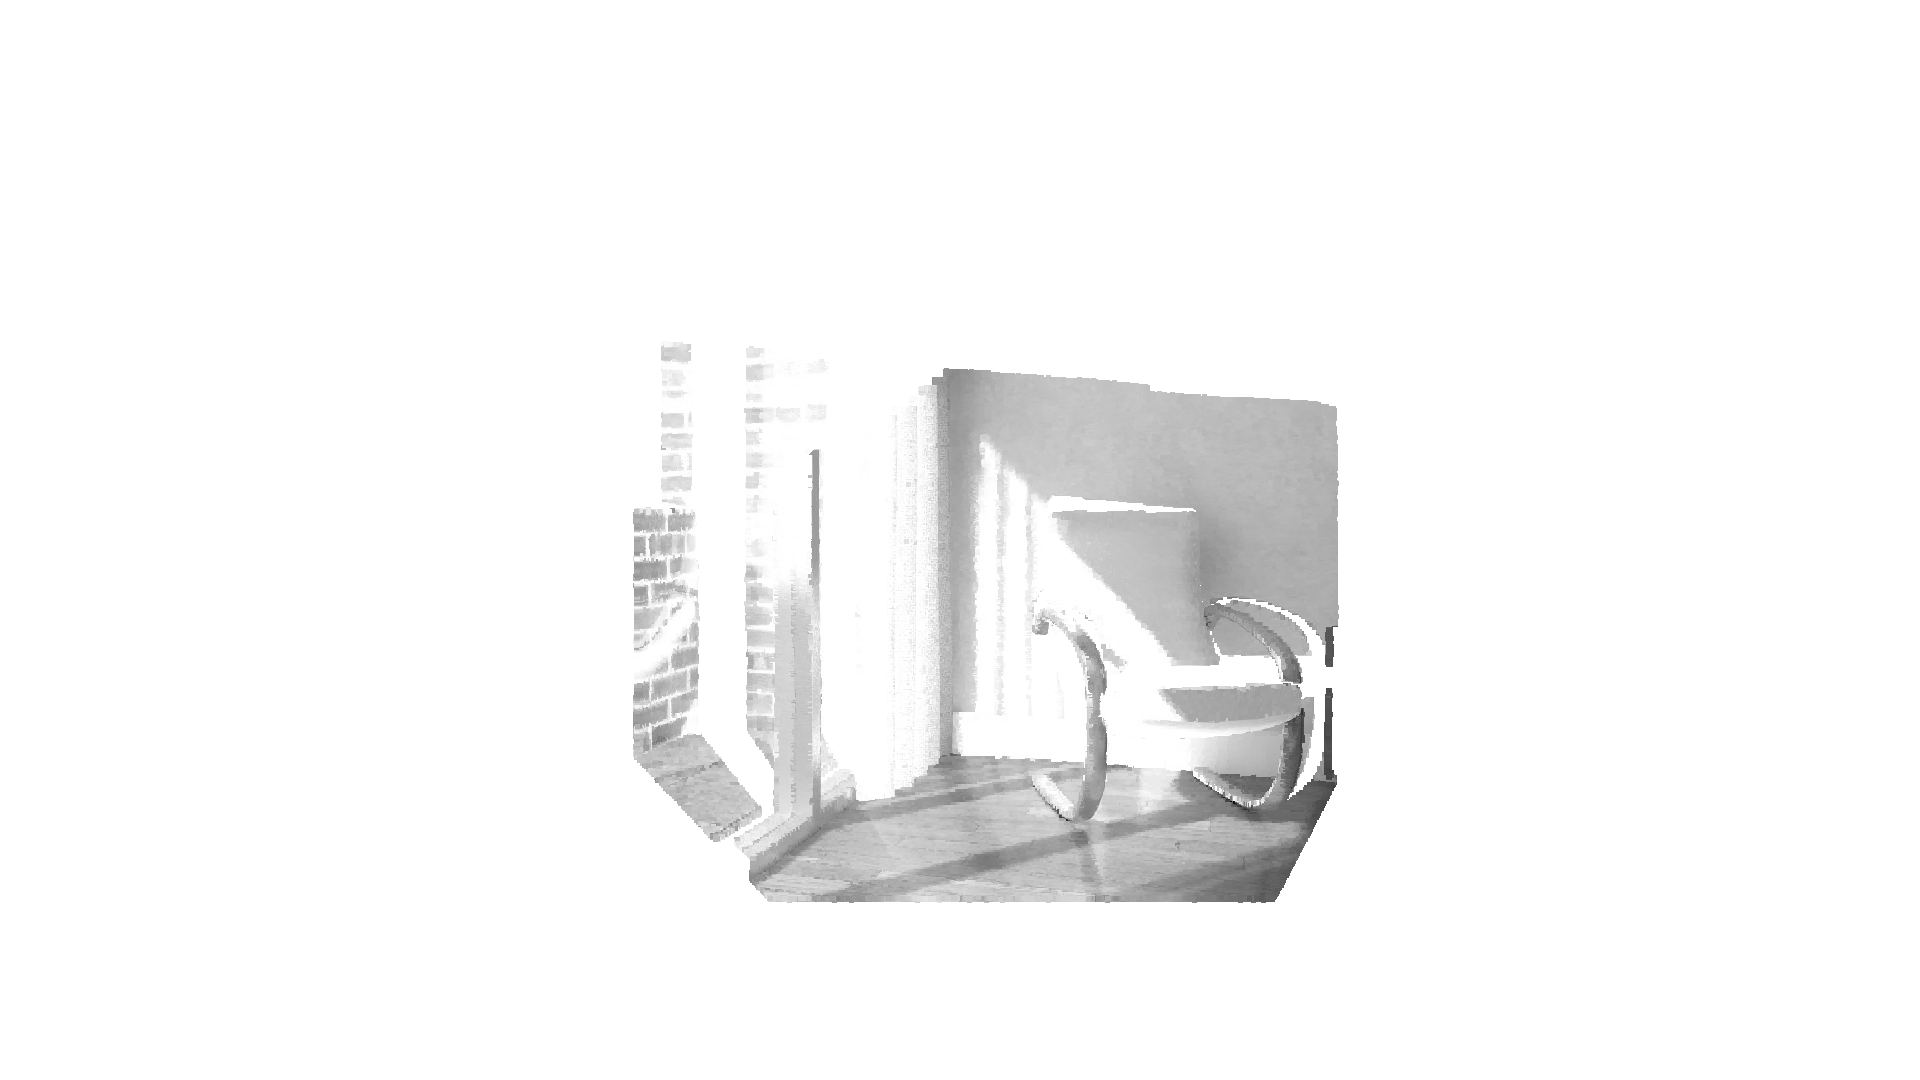
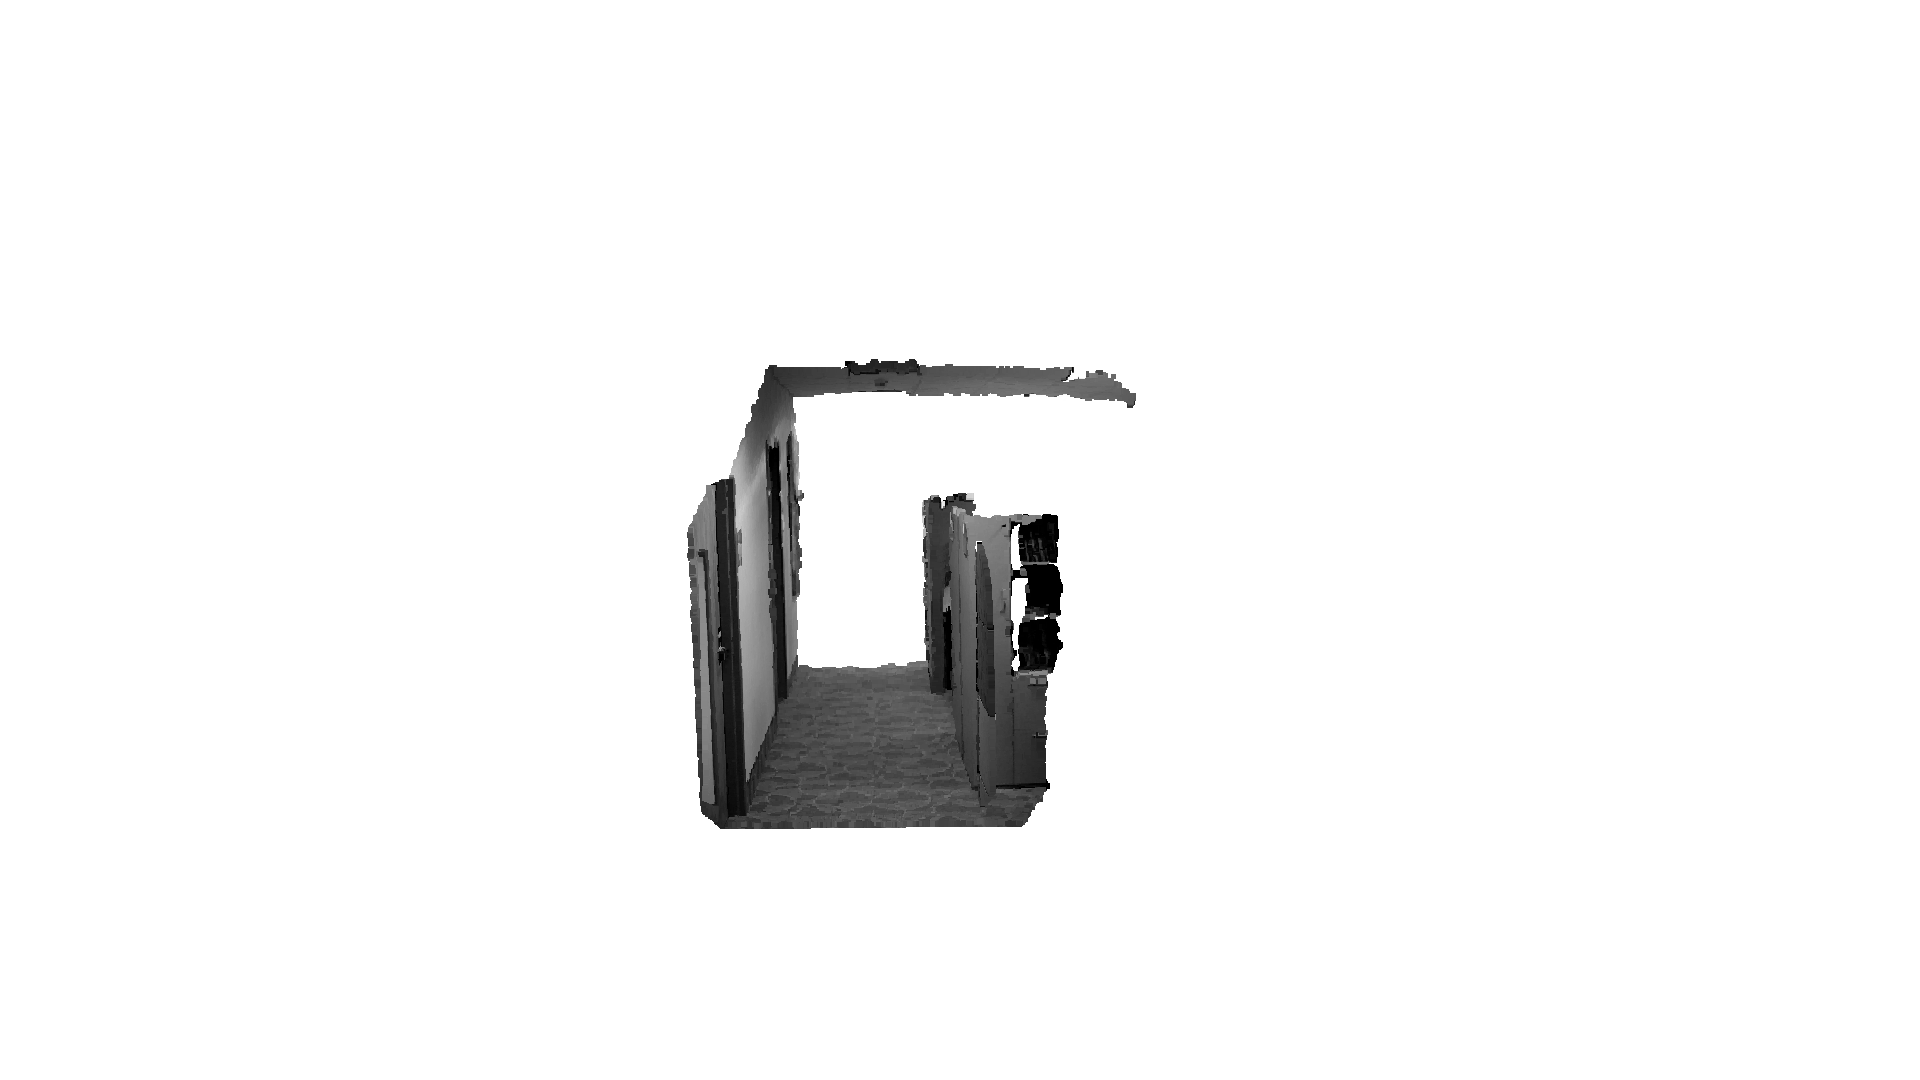
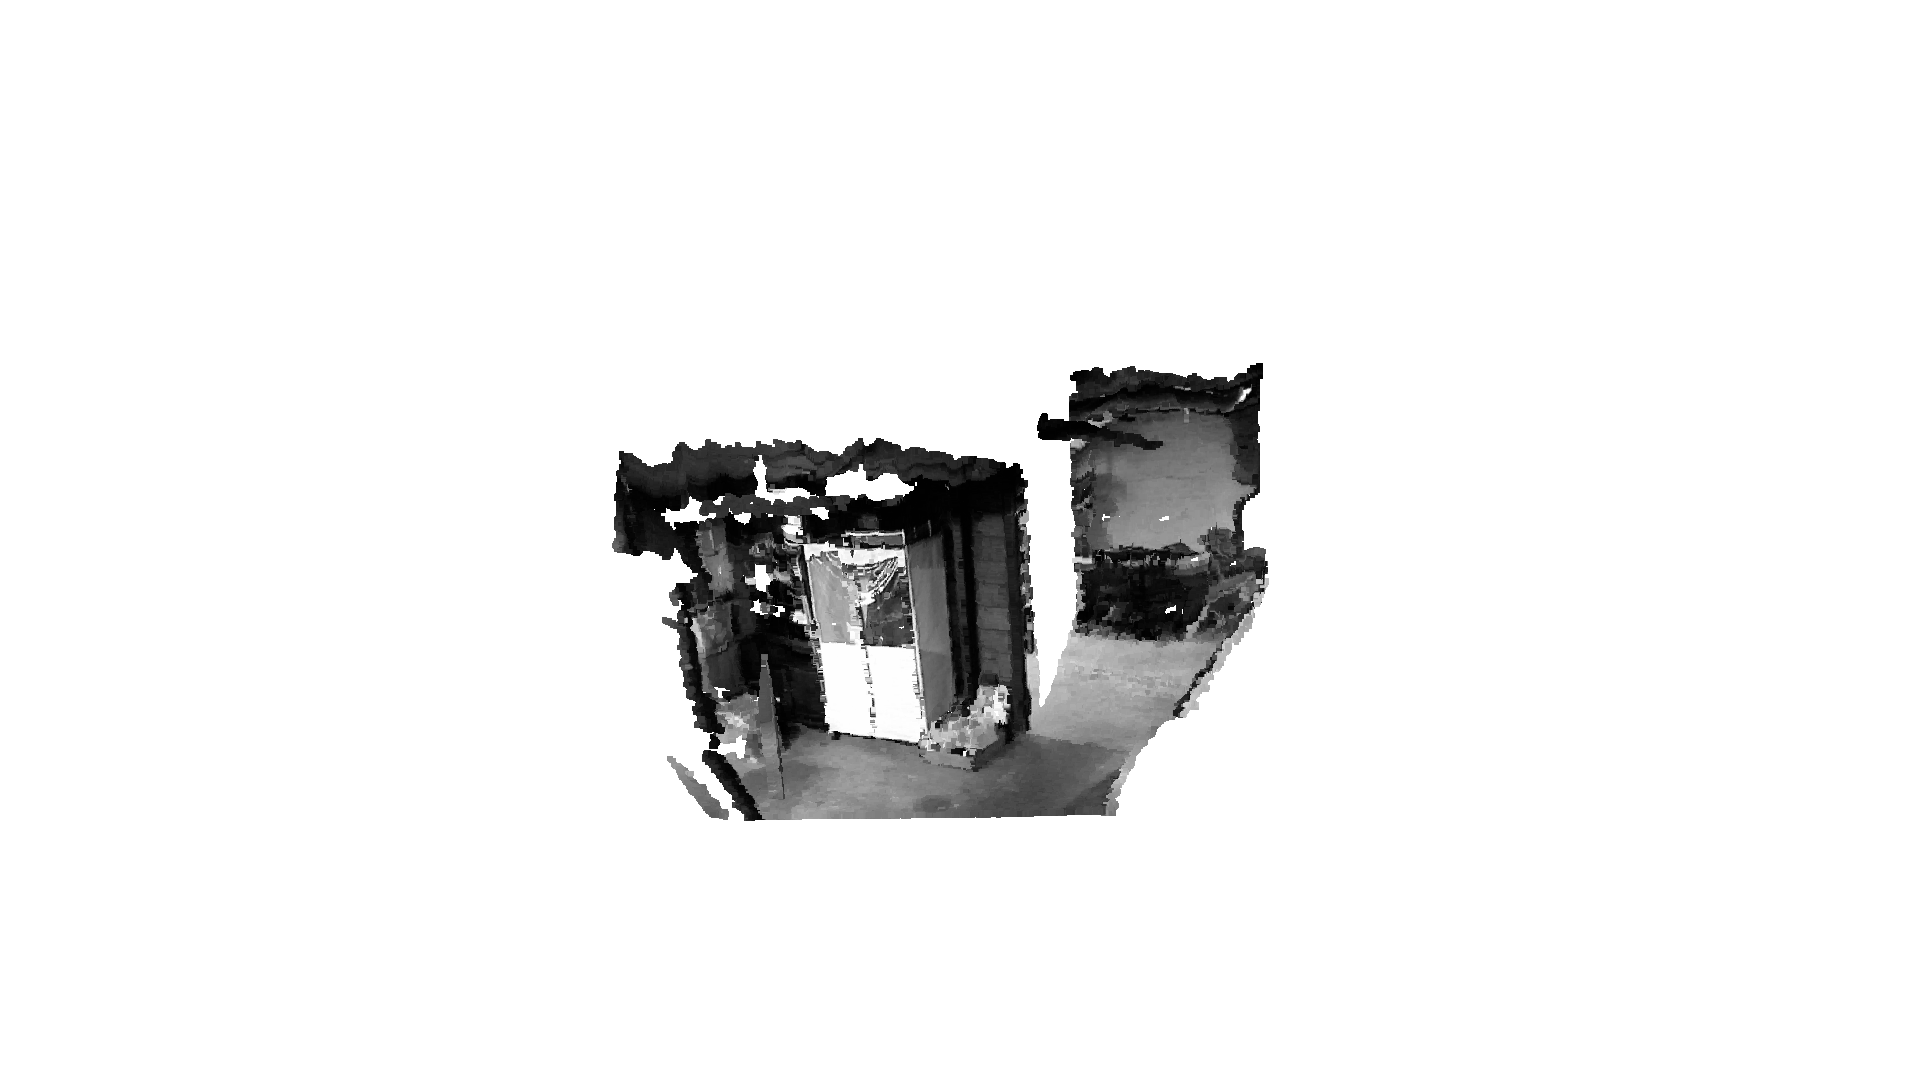
[Open3D WARNING] GLFW Error: Failed to detect any supported platform[Open3D WARNING] GLFW initialized for headless rendering.这里我们使用 PinholeCameraIntrinsicParameters.PrimeSenseDefault 作为默认相机参数。它的图像分辨率为 640x480,焦距 (fx, fy) = (525.0, 525.0),光心 (cx, cy) = (319.5, 239.5)。默认外参使用单位矩阵。pcd.transform 对点云施加了一个上下翻转的变换,以便更好地可视化。
SUN 数据集
Section titled “SUN 数据集”本节展示如何读取并可视化 SUN 数据集 [Song2015] 的一个 RGBDImage。
本教程与上面处理 Redwood 数据集的教程几乎相同。唯一的区别在于,我们使用转换函数 create_rgbd_image_from_sun_format(即 RGBDImage.create_from_sun_format)来解析 SUN 数据集中的深度图像。
print("Read SUN dataset")sun_rgbd = o3d.data.SampleSUNRGBDImage()color_raw = o3d.io.read_image(sun_rgbd.color_path)depth_raw = o3d.io.read_image(sun_rgbd.depth_path)rgbd_image = o3d.geometry.RGBDImage.create_from_sun_format(color_raw, depth_raw)print(rgbd_image)Read SUN dataset[Open3D INFO] Downloading https://github.com/isl-org/open3d_downloads/releases/download/20220201-data/SampleSUNRGBDImage.zip[Open3D INFO] Downloaded to /home/runner/open3d_data/download/SampleSUNRGBDImage/SampleSUNRGBDImage.zip[Open3D INFO] Created directory /home/runner/open3d_data/extract/SampleSUNRGBDImage.[Open3D INFO] Extracting /home/runner/open3d_data/download/SampleSUNRGBDImage/SampleSUNRGBDImage.zip.[Open3D INFO] Extracted to /home/runner/open3d_data/extract/SampleSUNRGBDImage.RGBDImage of sizeColor image : 640x480, with 1 channels.Depth image : 640x480, with 1 channels.Use numpy.asarray to access buffer data.plt.subplot(1, 2, 1)plt.title('SUN grayscale image')plt.imshow(rgbd_image.color)plt.subplot(1, 2, 2)plt.title('SUN depth image')plt.imshow(rgbd_image.depth)plt.show()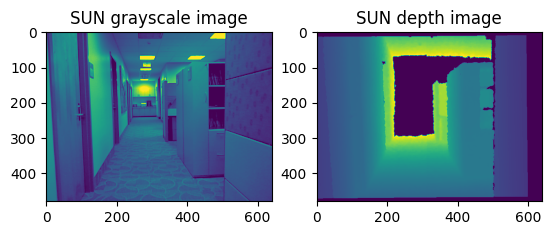
pcd = o3d.geometry.PointCloud.create_from_rgbd_image( rgbd_image, o3d.camera.PinholeCameraIntrinsic( o3d.camera.PinholeCameraIntrinsicParameters.PrimeSenseDefault))# Flip it, otherwise the pointcloud will be upside downpcd.transform([[1, 0, 0, 0], [0, -1, 0, 0], [0, 0, -1, 0], [0, 0, 0, 1]])o3d.visualization.draw_geometries([pcd])[Open3D WARNING] GLFW initialized for headless rendering.NYU 数据集
Section titled “NYU 数据集”本节展示如何从 NYU 数据集 [Silberman2012] 中读取并可视化一个 RGBDImage。
本教程与上面处理 Redwood 数据集的教程几乎相同,但有两点不同。首先,NYU 图像不是标准的 jpg 或 png 格式。因此,我们使用 mpimg.imread 将彩色图像读取为 NumPy 数组,再将其转换为 Open3D Image。读取深度图像时,会调用一个额外的辅助函数 read_nyu_pgm,以从 NYU 数据集使用的大端(big endian)pgm 格式中读取。其次,我们使用不同的转换函数 create_rgbd_image_from_nyu_format(即 RGBDImage.create_from_nyu_format)来解析深度图像。
import matplotlib.image as mpimgimport re

# This is special function used for reading NYU pgm format# as it is written in big endian byte order.def read_nyu_pgm(filename, byteorder='>'):    with open(filename, 'rb') as f:        buffer = f.read()    try:        header, width, height, maxval = re.search(            b"(^P5\s(?:\s*#.*[\r\n])*"            b"(\d+)\s(?:\s*#.*[\r\n])*"            b"(\d+)\s(?:\s*#.*[\r\n])*"            b"(\d+)\s(?:\s*#.*[\r\n]\s)*)", buffer).groups()    except AttributeError:        raise ValueError("Not a raw PGM file: '%s'" % filename)    img = np.frombuffer(buffer,                        dtype=byteorder + 'u2',                        count=int(width) * int(height),                        offset=len(header)).reshape((int(height), int(width)))    img_out = img.astype('u2')    return img_out

print("Read NYU dataset")# Open3D does not support ppm/pgm file yet. Not using o3d.io.read_image here.# MathplotImage having some ISSUE with NYU pgm file. Not using imread for pgm.nyu_rgbd = o3d.data.SampleNYURGBDImage()color_raw = mpimg.imread(nyu_rgbd.color_path)depth_raw = read_nyu_pgm(nyu_rgbd.depth_path)color = o3d.geometry.Image(color_raw)depth = o3d.geometry.Image(depth_raw)rgbd_image = o3d.geometry.RGBDImage.create_from_nyu_format(color, depth)print(rgbd_image)
Read NYU dataset[Open3D INFO] Downloading https://github.com/isl-org/open3d_downloads/releases/download/20220201-data/SampleNYURGBDImage.zip[Open3D INFO] Downloaded to /home/runner/open3d_data/download/SampleNYURGBDImage/SampleNYURGBDImage.zip[Open3D INFO] Created directory /home/runner/open3d_data/extract/SampleNYURGBDImage.[Open3D INFO] Extracting /home/runner/open3d_data/download/SampleNYURGBDImage/SampleNYURGBDImage.zip.[Open3D INFO] Extracted to /home/runner/open3d_data/extract/SampleNYURGBDImage.RGBDImage of sizeColor image : 640x480, with 1 channels.Depth image : 640x480, with 1 channels.Use numpy.asarray to access buffer data.plt.subplot(1, 2, 1)plt.title('NYU grayscale image')plt.imshow(rgbd_image.color)plt.subplot(1, 2, 2)plt.title('NYU depth image')plt.imshow(rgbd_image.depth)plt.show()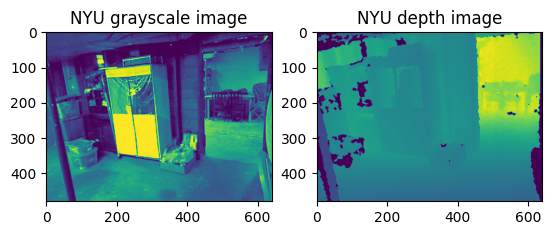
pcd = o3d.geometry.PointCloud.create_from_rgbd_image( rgbd_image, o3d.camera.PinholeCameraIntrinsic( o3d.camera.PinholeCameraIntrinsicParameters.PrimeSenseDefault))# Flip it, otherwise the pointcloud will be upside downpcd.transform([[1, 0, 0, 0], [0, -1, 0, 0], [0, 0, -1, 0], [0, 0, 0, 1]])o3d.visualization.draw_geometries([pcd])[Open3D WARNING] GLFW initialized for headless rendering.TUM 数据集
Section titled “TUM 数据集”本节展示如何从 TUM 数据集 [Strum2012] 中读取并可视化一个 RGBDImage。
本教程与上面处理 Redwood 数据集的教程几乎相同。唯一的区别在于,我们使用转换函数 create_rgbd_image_from_tum_format(即 RGBDImage.create_from_tum_format)来解析 TUM 数据集中的深度图像。
print("Read TUM dataset")tum_rgbd = o3d.data.SampleSUNRGBDImage()color_raw = o3d.io.read_image(tum_rgbd.color_path)depth_raw = o3d.io.read_image(tum_rgbd.depth_path)rgbd_image = o3d.geometry.RGBDImage.create_from_tum_format(color_raw, depth_raw)print(rgbd_image)Read TUM datasetRGBDImage of sizeColor image : 640x480, with 1 channels.Depth image : 640x480, with 1 channels.Use numpy.asarray to access buffer data.plt.subplot(1, 2, 1)plt.title('TUM grayscale image')plt.imshow(rgbd_image.color)plt.subplot(1, 2, 2)plt.title('TUM depth image')plt.imshow(rgbd_image.depth)plt.show()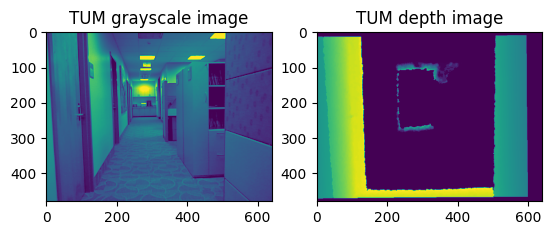
pcd = o3d.geometry.PointCloud.create_from_rgbd_image( rgbd_image, o3d.camera.PinholeCameraIntrinsic( o3d.camera.PinholeCameraIntrinsicParameters.PrimeSenseDefault))# Flip it, otherwise the pointcloud will be upside downpcd.transform([[1, 0, 0, 0], [0, -1, 0, 0], [0, 0, -1, 0], [0, 0, 0, 1]])o3d.visualization.draw_geometries([pcd], zoom=0.35)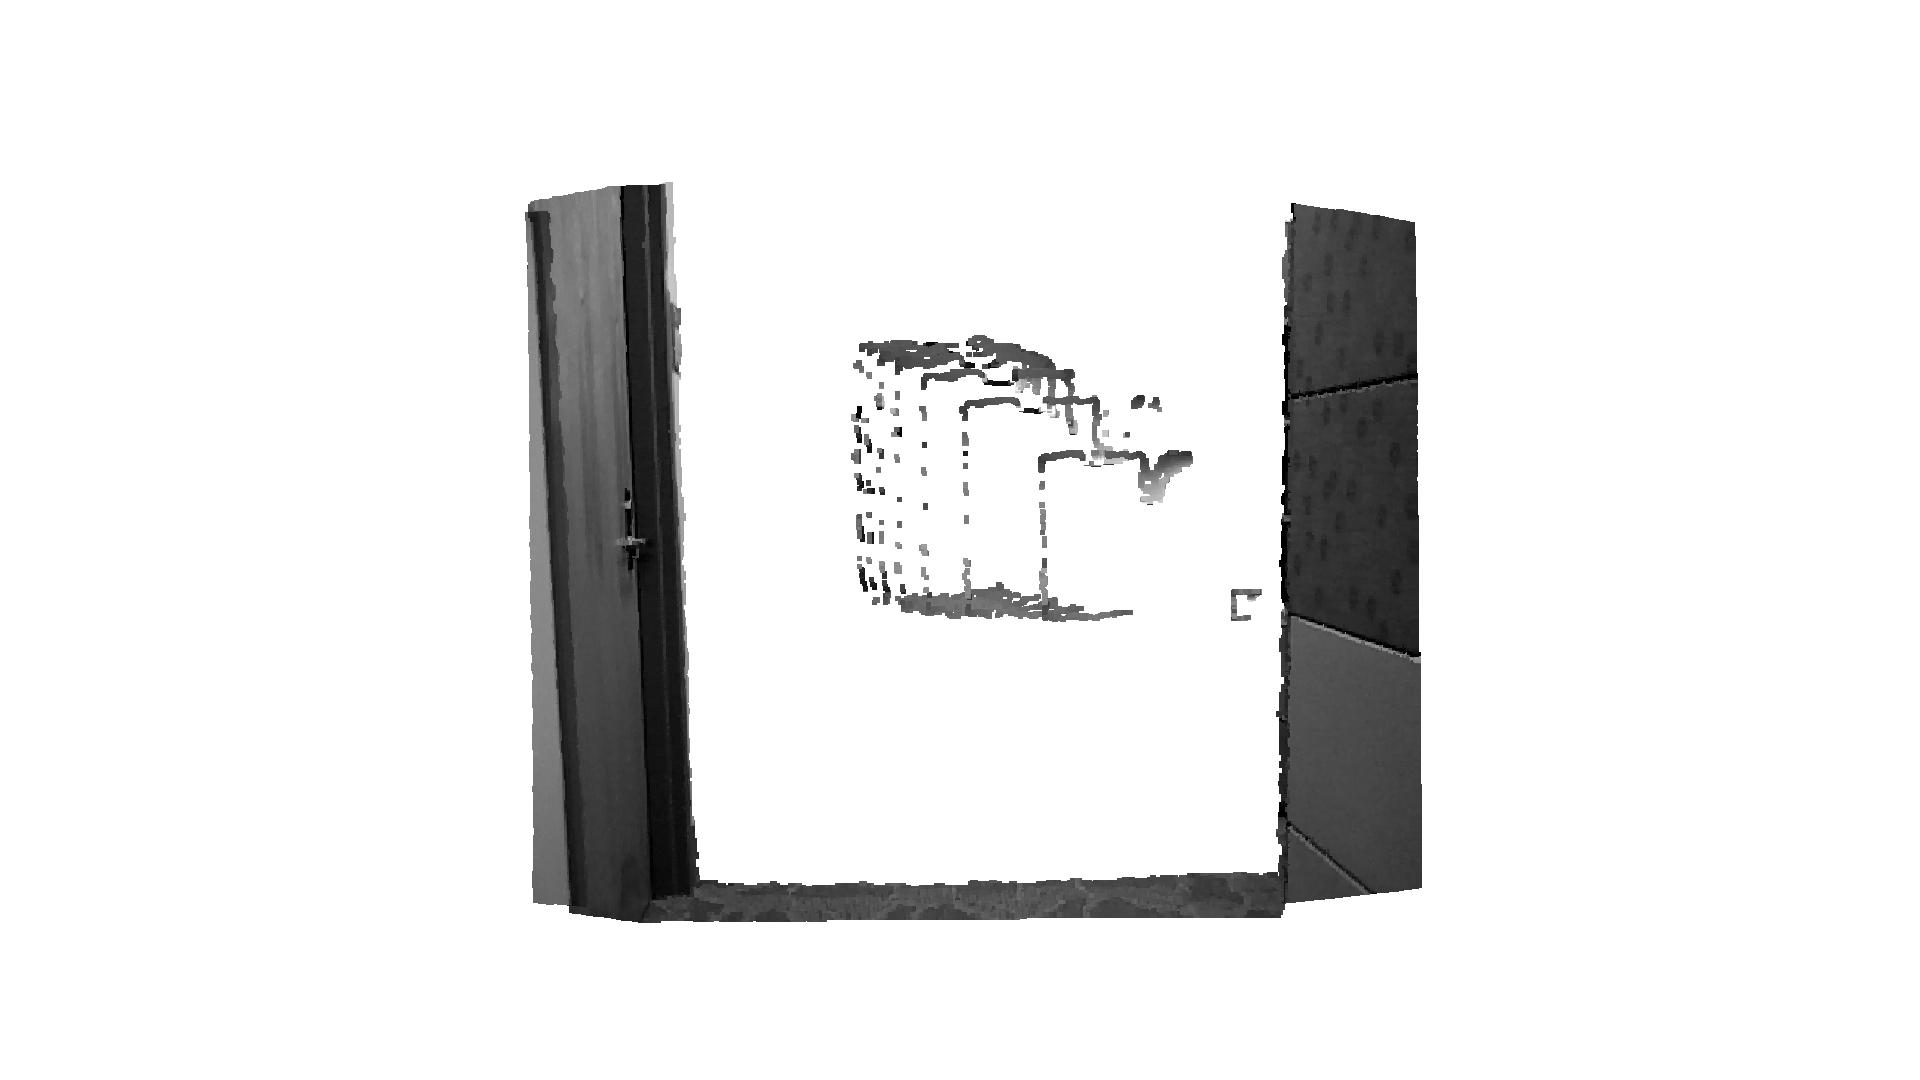
[Open3D WARNING] GLFW initialized for headless rendering.