
运动规划 API
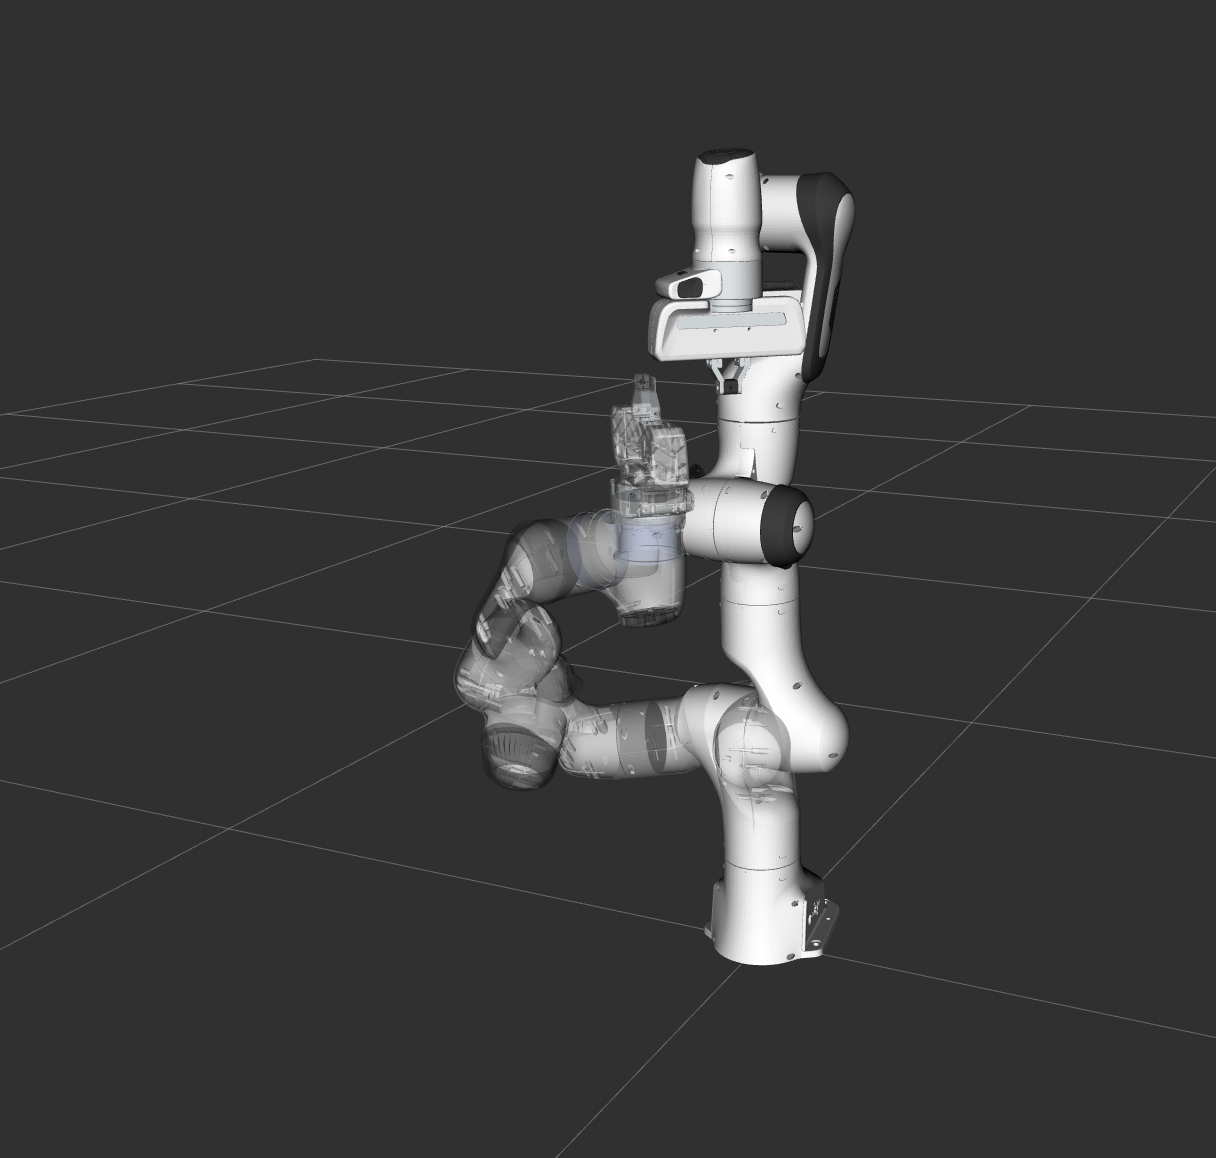
在 MoveIt 中,运动规划器(motion planner)通过插件(plugin)机制加载,这使得 MoveIt 能够在运行时灵活切换运动规划器。本示例将逐步讲解实现这一功能所需的 C++ 代码。
如果尚未完成,请先完成 Getting Started 中的步骤。
打开两个终端。在第一个终端中启动 RViz,等待所有内容加载完成:
ros2 launch moveit2_tutorials move_group.launch.py在第二个终端中,运行启动文件:
ros2 launch moveit2_tutorials motion_planning_api_tutorial.launch.py注意:本教程使用 RvizVisualToolsGui 面板来逐步推进演示。要将该面板添加到 RViz,请按照可视化教程中的说明操作。
片刻之后,RViz 窗口应该会出现,界面与本文顶部的那张图类似。若要逐步推进每个演示步骤,可以点击屏幕底部 RvizVisualToolsGui 面板中的 Next 按钮,或者在屏幕顶部 Tools 面板中选择 Key Tool,然后在 RViz 获得焦点时按键盘上的 N 键。
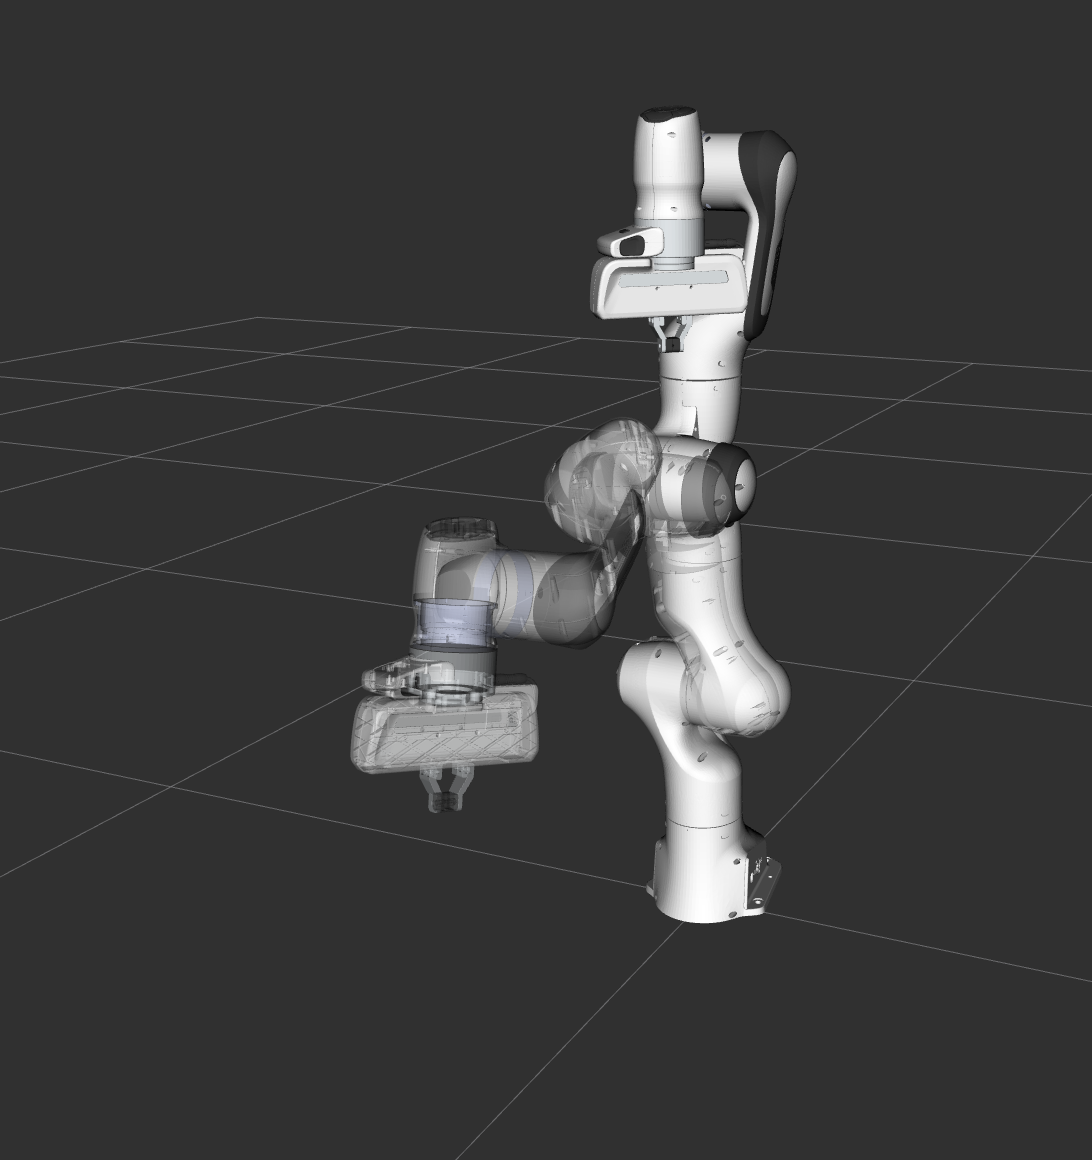
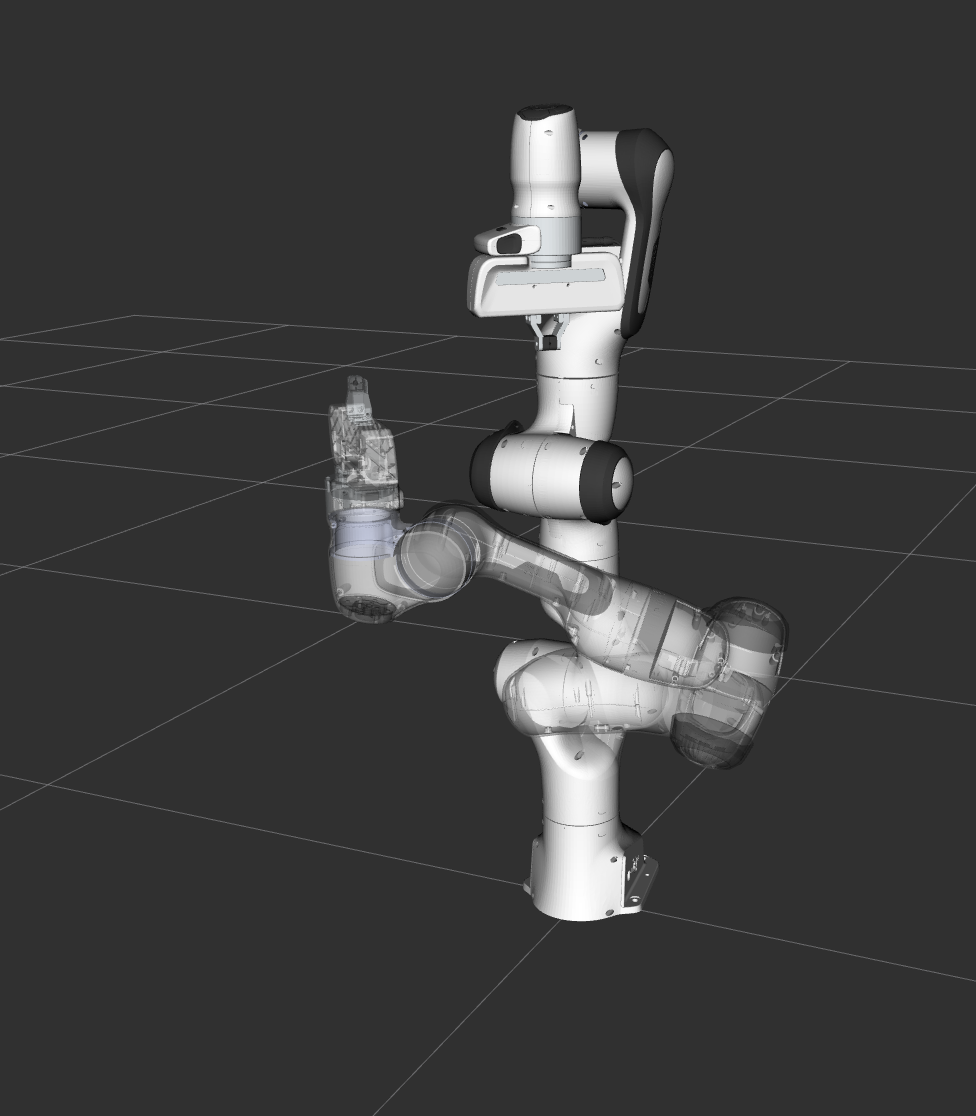
在 RViz 中,最终可以看到四条轨迹依次回放:
-
机器人将手臂移动到第一个位姿目标(pose goal),
-
机器人将手臂移动到关节目标(joint goal),
-
机器人将手臂移回原始的位姿目标,
-
机器人在保持末端执行器水平的同时,将手臂移动到一个新的位姿目标。
完整代码可以在 moveit_tutorials GitHub 项目中查看。
开始(Start)
Section titled “开始(Start)”使用规划器其实非常简单。规划器在 MoveIt 中以插件形式配置,你可以通过 ROS 的 pluginlib 接口加载任何想要使用的规划器。在加载规划器之前,我们需要两个对象:一个 RobotModel 和一个 PlanningScene。我们首先实例化一个 RobotModelLoader 对象,它会在 ROS 参数服务器上查找机器人描述,并为我们构造一个可用的 RobotModel。
const std::string PLANNING_GROUP = "panda_arm"; robot_model_loader::RobotModelLoader robot_model_loader(motion_planning_api_tutorial_node, "robot_description"); const moveit::core::RobotModelPtr& robot_model = robot_model_loader.getModel(); /* Create a RobotState and JointModelGroup to keep track of the current robot pose and planning group*/ moveit::core::RobotStatePtr robot_state(new moveit::core::RobotState(robot_model)); const moveit::core::JointModelGroup* joint_model_group = robot_state->getJointModelGroup(PLANNING_GROUP);利用 RobotModel,我们可以构造一个维护世界状态(包括机器人)的 PlanningScene。
planning_scene::PlanningScenePtr planning_scene(new planning_scene::PlanningScene(robot_model));配置一个有效的机器人状态:
planning_scene->getCurrentStateNonConst().setToDefaultValues(joint_model_group, "ready");接下来构造一个加载器,按名称加载规划器。注意这里使用的是 ROS 的 pluginlib 库。
std::unique_ptr<pluginlib::ClassLoader<planning_interface::PlannerManager>> planner_plugin_loader; planning_interface::PlannerManagerPtr planner_instance; std::vector<std::string> planner_plugin_names;我们从 ROS 参数服务器获取要加载的规划插件的名称,然后加载该规划器,并确保捕获所有异常。
   if (!motion_planning_api_tutorial_node->get_parameter("ompl.planning_plugins", planner_plugin_names))     RCLCPP_FATAL(LOGGER, "Could not find planner plugin names");   try   {     planner_plugin_loader.reset(new pluginlib::ClassLoader<planning_interface::PlannerManager>(         "moveit_core", "planning_interface::PlannerManager"));   }   catch (pluginlib::PluginlibException& ex)   {     RCLCPP_FATAL(LOGGER, "Exception while creating planning plugin loader %s", ex.what());   }
   if (planner_plugin_names.empty())   {     RCLCPP_ERROR(LOGGER,                  "No planner plugins defined. Please make sure that the planning_plugins parameter is not empty.");     return -1;   }
   const auto& planner_name = planner_plugin_names.at(0);   try   {     planner_instance.reset(planner_plugin_loader->createUnmanagedInstance(planner_name));     if (!planner_instance->initialize(robot_model, motion_planning_api_tutorial_node,                                       motion_planning_api_tutorial_node->get_namespace()))       RCLCPP_FATAL(LOGGER, "Could not initialize planner instance");     RCLCPP_INFO(LOGGER, "Using planning interface '%s'", planner_instance->getDescription().c_str());   }   catch (pluginlib::PluginlibException& ex)   {     const std::vector<std::string>& classes = planner_plugin_loader->getDeclaredClasses();     std::stringstream ss;     for (const auto& cls : classes)       ss << cls << " ";     RCLCPP_ERROR(LOGGER, "Exception while loading planner '%s': %s\nAvailable plugins: %s", planner_name.c_str(),                  ex.what(), ss.str().c_str());   }
   moveit::planning_interface::MoveGroupInterface move_group(motion_planning_api_tutorial_node, PLANNING_GROUP);
可视化(Visualization)
Section titled “可视化(Visualization)”MoveItVisualTools 包提供了许多在 RViz 中可视化对象、机器人和轨迹的功能,以及脚本逐步自检等调试工具。
   namespace rvt = rviz_visual_tools;   moveit_visual_tools::MoveItVisualTools visual_tools(motion_planning_api_tutorial_node, "panda_link0",                                                       "move_group_tutorial", move_group.getRobotModel());   visual_tools.enableBatchPublishing();   visual_tools.deleteAllMarkers();  // clear all old markers   visual_tools.trigger();
   /* Remote control is an introspection tool that allows users to step through a high level script      via buttons and keyboard shortcuts in RViz */   visual_tools.loadRemoteControl();
   /* RViz provides many types of markers, in this demo we will use text, cylinders, and spheres*/   Eigen::Isometry3d text_pose = Eigen::Isometry3d::Identity();   text_pose.translation().z() = 1.75;   visual_tools.publishText(text_pose, "Motion Planning API Demo", rvt::WHITE, rvt::XLARGE);
   /* Batch publishing is used to reduce the number of messages being sent to RViz for large visualizations */   visual_tools.trigger();
   /* We can also use visual_tools to wait for user input */   visual_tools.prompt("Press 'next' in the RvizVisualToolsGui window to start the demo");
位姿目标(Pose Goal)
Section titled “位姿目标(Pose Goal)”接下来,我们为 Panda 的手臂创建一个运动规划请求,将末端执行器的期望位姿指定为输入。
visual_tools.trigger(); planning_interface::MotionPlanRequest req; planning_interface::MotionPlanResponse res; geometry_msgs::msg::PoseStamped pose; pose.header.frame_id = "panda_link0"; pose.pose.position.x = 0.3; pose.pose.position.y = 0.4; pose.pose.position.z = 0.75; pose.pose.orientation.w = 1.0;位置容差指定为 0.01 m,姿态容差指定为 0.01 弧度。
std::vector<double> tolerance_pose(3, 0.01); std::vector<double> tolerance_angle(3, 0.01);我们使用 kinematic_constraints 包中提供的辅助函数,将请求创建为一个约束。
   moveit_msgs::msg::Constraints pose_goal =       kinematic_constraints::constructGoalConstraints("panda_link8", pose, tolerance_pose, tolerance_angle);
   req.group_name = PLANNING_GROUP;   req.goal_constraints.push_back(pose_goal);
定义工作空间边界:
req.workspace_parameters.min_corner.x = req.workspace_parameters.min_corner.y = req.workspace_parameters.min_corner.z = -5.0; req.workspace_parameters.max_corner.x = req.workspace_parameters.max_corner.y = req.workspace_parameters.max_corner.z = 5.0;现在构造一个规划上下文(planning context),它封装了场景、请求和响应。我们通过这个规划上下文来调用规划器。
   planning_interface::PlanningContextPtr context =       planner_instance->getPlanningContext(planning_scene, req, res.error_code);
   if (!context)   {     RCLCPP_ERROR(LOGGER, "Failed to create planning context");     return -1;   }   context->solve(res);   if (res.error_code.val != res.error_code.SUCCESS)   {     RCLCPP_ERROR(LOGGER, "Could not compute plan successfully");     return -1;   }
可视化结果(Visualize the result)
Section titled “可视化结果(Visualize the result)” std::shared_ptr<rclcpp::Publisher<moveit_msgs::msg::DisplayTrajectory>> display_publisher = motion_planning_api_tutorial_node->create_publisher<moveit_msgs::msg::DisplayTrajectory>("/display_planned_path", 1); moveit_msgs::msg::DisplayTrajectory display_trajectory;
/* Visualize the trajectory */ moveit_msgs::msg::MotionPlanResponse response; res.getMessage(response);
display_trajectory.trajectory_start = response.trajectory_start; display_trajectory.trajectory.push_back(response.trajectory); visual_tools.publishTrajectoryLine(display_trajectory.trajectory.back(), joint_model_group); visual_tools.trigger(); display_publisher->publish(display_trajectory);
/* Set the state in the planning scene to the final state of the last plan */ robot_state->setJointGroupPositions(joint_model_group, response.trajectory.joint_trajectory.points.back().positions); planning_scene->setCurrentState(*robot_state.get());显示目标状态:
   visual_tools.publishAxisLabeled(pose.pose, "goal_1");   visual_tools.publishText(text_pose, "Pose Goal (1)", rvt::WHITE, rvt::XLARGE);   visual_tools.trigger();
   /* We can also use visual_tools to wait for user input */   visual_tools.prompt("Press 'next' in the RvizVisualToolsGui window to continue the demo");
关节空间目标(Joint Space Goals)
Section titled “关节空间目标(Joint Space Goals)”接下来,设置一个关节空间目标。
moveit::core::RobotState goal_state(robot_model); std::vector<double> joint_values = { -1.0, 0.7, 0.7, -1.5, -0.7, 2.0, 0.0 }; goal_state.setJointGroupPositions(joint_model_group, joint_values); moveit_msgs::msg::Constraints joint_goal = kinematic_constraints::constructGoalConstraints(goal_state, joint_model_group); req.goal_constraints.clear(); req.goal_constraints.push_back(joint_goal);调用规划器并可视化轨迹:
   /* Re-construct the planning context */   context = planner_instance->getPlanningContext(planning_scene, req, res.error_code);   /* Call the Planner */   context->solve(res);   /* Check that the planning was successful */   if (res.error_code.val != res.error_code.SUCCESS)   {     RCLCPP_ERROR(LOGGER, "Could not compute plan successfully");     return -1;   }   /* Visualize the trajectory */   res.getMessage(response);   display_trajectory.trajectory.push_back(response.trajectory);
   /* Now you should see two planned trajectories in series*/   visual_tools.publishTrajectoryLine(display_trajectory.trajectory.back(), joint_model_group);   visual_tools.trigger();   display_publisher->publish(display_trajectory);
   /* We will add more goals. But first, set the state in the planning      scene to the final state of the last plan */   robot_state->setJointGroupPositions(joint_model_group, response.trajectory.joint_trajectory.points.back().positions);   planning_scene->setCurrentState(*robot_state.get());
显示目标状态:
   visual_tools.publishAxisLabeled(pose.pose, "goal_2");   visual_tools.publishText(text_pose, "Joint Space Goal (2)", rvt::WHITE, rvt::XLARGE);   visual_tools.trigger();
   /* Wait for user input */   visual_tools.prompt("Press 'next' in the RvizVisualToolsGui window to continue the demo");
   /* Now, we go back to the first goal to prepare for orientation constrained planning */   req.goal_constraints.clear();   req.goal_constraints.push_back(pose_goal);   context = planner_instance->getPlanningContext(planning_scene, req, res.error_code);   context->solve(res);   res.getMessage(response);
   display_trajectory.trajectory.push_back(response.trajectory);   visual_tools.publishTrajectoryLine(display_trajectory.trajectory.back(), joint_model_group);   visual_tools.trigger();   display_publisher->publish(display_trajectory);
   /* Set the state in the planning scene to the final state of the last plan */   robot_state->setJointGroupPositions(joint_model_group, response.trajectory.joint_trajectory.points.back().positions);   planning_scene->setCurrentState(*robot_state.get());
显示目标状态:
   visual_tools.trigger();
   /* Wait for user input */   visual_tools.prompt("Press 'next' in the RvizVisualToolsGui window to continue the demo");
添加路径约束(Adding Path Constraints)
Section titled “添加路径约束(Adding Path Constraints)”让我们再次添加一个新的位姿目标。这一次,我们还将为运动添加一个路径约束(path constraint)。
   /* Let's create a new pose goal */
   pose.pose.position.x = 0.32;   pose.pose.position.y = -0.25;   pose.pose.position.z = 0.65;   pose.pose.orientation.w = 1.0;   moveit_msgs::msg::Constraints pose_goal_2 =       kinematic_constraints::constructGoalConstraints("panda_link8", pose, tolerance_pose, tolerance_angle);
   /* Now, let's try to move to this new pose goal*/   req.goal_constraints.clear();   req.goal_constraints.push_back(pose_goal_2);
   /* But, let's impose a path constraint on the motion.      Here, we are asking for the end-effector to stay level*/   geometry_msgs::msg::QuaternionStamped quaternion;   quaternion.header.frame_id = "panda_link0";   req.path_constraints = kinematic_constraints::constructGoalConstraints("panda_link8", quaternion);
施加路径约束要求规划器在末端执行器可能位置的空间(即机器人的工作空间)中进行推理,因此我们还需要为允许的规划体积指定一个边界。注意:默认边界会由 WorkspaceBounds 请求适配器自动填充(该适配器是 OMPL 管线的一部分,但本示例中没有使用它)。我们使用一个必然包含手臂可达空间的边界。这样做没有问题,因为为手臂规划时并不在这个体积内采样——这些边界仅用于判断采样到的构型是否有效。
req.workspace_parameters.min_corner.x = req.workspace_parameters.min_corner.y = req.workspace_parameters.min_corner.z = -2.0; req.workspace_parameters.max_corner.x = req.workspace_parameters.max_corner.y = req.workspace_parameters.max_corner.z = 2.0;调用规划器,并可视化到目前为止创建的所有规划。
   context = planner_instance->getPlanningContext(planning_scene, req, res.error_code);   context->solve(res);   res.getMessage(response);   display_trajectory.trajectory.push_back(response.trajectory);   visual_tools.publishTrajectoryLine(display_trajectory.trajectory.back(), joint_model_group);   visual_tools.trigger();   display_publisher->publish(display_trajectory);
   /* Set the state in the planning scene to the final state of the last plan */   robot_state->setJointGroupPositions(joint_model_group, response.trajectory.joint_trajectory.points.back().positions);   planning_scene->setCurrentState(*robot_state.get());
显示目标状态:
visual_tools.publishAxisLabeled(pose.pose, "goal_3"); visual_tools.publishText(text_pose, "Orientation Constrained Motion Plan (3)", rvt::WHITE, rvt::XLARGE); visual_tools.trigger();完整的启动文件在 GitHub 上的这里。本教程中的所有代码都可以从 moveit_tutorials 包中编译并运行。