
SDF 世界文件
本教程介绍如何用 SDF 构建世界以及如何向其中添加模型。请打开文本编辑器,跟随本教程逐步添加代码。也可从 此处 下载本教程的成品世界文件。
每个 SDF 世界都以这些标签开头。
<?xml version="1.0" ?><sdf version="1.8"> <world name="world_demo"> ... ... </world></sdf>前两个标签分别定义了 XML 和 SDF 的版本。随后是 <world> </world> 标签,所有内容都放在其中。
<physics name="1ms" type="ignored"> <max_step_size>0.001</max_step_size> <real_time_factor>1.0</real_time_factor></physics>physics 标签指定动力学引擎的类型和属性。name 设为 1ms 是因为步长为 1 毫秒。type 是动力学引擎(物理库)的类型,可选值有 Ode、Bullet、Simbody 和 Dart。这里设为 ignored,因为目前还不能通过此标签选择物理引擎的类型。
<max_step_size> 是仿真中每个系统可以与世界状态交互的最大时间步长。该值越小,计算结果越精确,但对计算能力的要求也越高。
<real_time_factor> 是仿真时间与真实时间的比率。
插件是一段动态加载的代码。例如:
<plugin filename="gz-sim-physics-system" name="gz::sim::systems::Physics"></plugin>Physics 插件对于模拟世界的动力学至关重要。
<plugin filename="gz-sim-user-commands-system" name="gz::sim::systems::UserCommands"></plugin>UserCommands 插件负责创建模型、移动模型、删除模型以及处理许多其他用户命令。
<plugin filename="gz-sim-scene-broadcaster-system" name="gz::sim::systems::SceneBroadcaster"></plugin>SceneBroadcaster 负责发布世界场景信息。
接下来定义 GUI。在 <gui> 标签下,可以指定与 Gazebo GUI 相关的各种内容。
<gui fullscreen="0"> ... ...</gui>gazebo-gui 提供了大量插件。下面添加让世界以基本功能启动并运行所必需的插件。
<!-- 3D scene --><plugin filename="MinimalScene" name="3D View">  <gz-gui>    <title>3D View</title>    <property type="bool" key="showTitleBar">false</property>    <property type="string" key="state">docked</property>  </gz-gui>
  <engine>ogre2</engine>  <scene>scene</scene>  <ambient_light>0.4 0.4 0.4</ambient_light>  <background_color>0.8 0.8 0.8</background_color>  <camera_pose>-6 0 6 0 0.5 0</camera_pose>  <camera_clip>    <near>0.25</near>    <far>25000</far>  </camera_clip></plugin><plugin filename="GzSceneManager" name="Scene Manager">  <gz-gui>    <property key="resizable" type="bool">false</property>    <property key="width" type="double">5</property>    <property key="height" type="double">5</property>    <property key="state" type="string">floating</property>    <property key="showTitleBar" type="bool">false</property>  </gz-gui></plugin>
MinimalScene 和 GzSceneManager 负责显示世界的 3D 场景。它们具有以下属性(大多数 GUI 插件都含有这些属性):
showTitleBar:若为 true,则在插件上方显示蓝色标题栏,标题为<title>标签中指定的名称。state:插件的状态,可设为docked(停靠在原位)或floating(浮动)。
对于渲染引擎,可选择 ogre 或 ogre2。<ambient_light> 和 <background_color> 分别指定场景的环境光和背景色。<camera_pose> 指定相机的 X Y Z 位置,后跟其 Roll Pitch Yaw 旋转角度。
世界控制插件
Section titled “世界控制插件”<!-- World control --><plugin filename="WorldControl" name="World control"> <gz-gui> <title>World control</title> <property type="bool" key="showTitleBar">false</property> <property type="bool" key="resizable">false</property> <property type="double" key="height">72</property> <property type="double" key="width">121</property> <property type="double" key="z">1</property>
<property type="string" key="state">floating</property> <anchors target="3D View"> <line own="left" target="left"/> <line own="bottom" target="bottom"/> </anchors> </gz-gui>
<play_pause>true</play_pause> <step>true</step> <start_paused>true</start_paused> <service>/world/world_demo/control</service> <stats_topic>/world/world_demo/stats</stats_topic></plugin>World control 插件负责控制世界。部分属性如下:
<play_pause>:若为true,左下角将显示播放/暂停按钮。<stats_topic>:指定发布世界统计信息(如仿真时间和真实时间)的话题。<start_paused>:若为true,仿真在 Gazebo 启动时处于暂停状态。
世界统计插件
Section titled “世界统计插件”<!-- World statistics --><plugin filename="WorldStats" name="World stats"> <gz-gui> <title>World stats</title> <property type="bool" key="showTitleBar">false</property> <property type="bool" key="resizable">false</property> <property type="double" key="height">110</property> <property type="double" key="width">290</property> <property type="double" key="z">1</property>
<property type="string" key="state">floating</property> <anchors target="3D View"> <line own="right" target="right"/> <line own="bottom" target="bottom"/> </anchors> </gz-gui>
<sim_time>true</sim_time> <real_time>true</real_time> <real_time_factor>true</real_time_factor> <iterations>true</iterations> <topic>/world/world_demo/stats</topic>
</plugin>World stats 插件负责显示世界统计信息:<sim_time>、<real_time>、<real_time_factor> 和 <iterations>。
通过这些标签,可以选择要显示哪些值(展开右下角面板即可看到)。还可以指定这些值在哪个 <topic> 上发布。下面尝试运行世界并监听该话题。
运行世界:
gz sim world_demo.sdf
按下播放按钮,在另一个终端中监听消息:
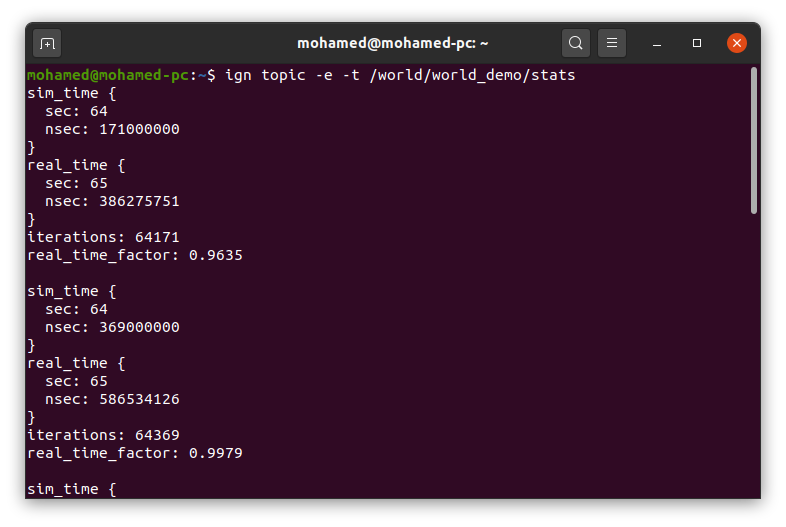
gz topic -e -t /world/world_demo/stats
消息应如下所示:
<!-- Entity tree --><plugin filename="EntityTree" name="Entity tree"></plugin>在该插件中,可以查看世界的所有实体(仿真中的一切均被视为“实体”),包括不同的模型、太阳,以及它们各自的 link、visual 和 collision。
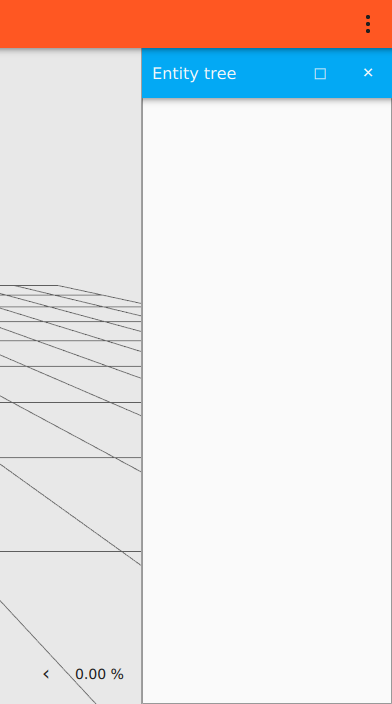
列表是空白的,因为还没有向世界添加任何内容。
gz-gui 还提供了许多有用的插件,例如 Transform control 插件,可用于平移和旋转实体、操作世界的不同组件。查看这个 教程,了解如何操作模型。
插件也可以从 GUI 添加,使用 Gazebo 右上角的插件下拉菜单即可。至此 GUI 部分已完成,接下来向世界添加不同的元素。不要忘记添加结束标签 </gui>。
<light type="directional" name="sun"> <cast_shadows>true</cast_shadows> <pose>0 0 10 0 0 0</pose> <diffuse>0.8 0.8 0.8 1</diffuse> <specular>0.2 0.2 0.2 1</specular> <attenuation> <range>1000</range> <constant>0.9</constant> <linear>0.01</linear> <quadratic>0.001</quadratic> </attenuation> <direction>-0.5 0.1 -0.9</direction></light>-
<light>指定世界中的光源。光源的<type>可以是point、directional或spot。 -
<pose>是光源元素相对于relative_to属性中指定的坐标系的位置(x,y,z)和方向(roll, pitch, yaw);本例中(省略了relative_to属性)它相对于世界。 -
<cast_shadows>为 true 时,光源将投射阴影。<diffuse>和<specular>分别是漫反射和镜面反射光的颜色。 -
<attenuation>指定光源的衰减属性,包括:<range>是光源的照射范围。<constant>是恒定衰减因子,1表示不衰减,0表示完全衰减。<linear>是线性衰减因子,1表示随距离均匀衰减。<quadratic>是二次衰减因子,为衰减引入曲率。<direction>是光源的方向,仅适用于聚光灯(spot)和方向光(directional)。
除了自行构建模型,还可以使用现成的模型。Gazebo Fuel 托管了数百个模型,可以轻松添加到 Gazebo 世界中。添加方式如下。
要从 Fuel 向世界添加各种模型,请查看这个 教程。
包含模型 URI
Section titled “包含模型 URI”另一种向世界添加模型的方法是使用模型链接。访问 Gazebo Fuel 网站,选择所需的模型,然后点击模型描述页面上的 <> 图标。这会将一个 SDF 片段复制到剪贴板,将其粘贴到世界中 </world> 结束标签的正上方即可,如下所示:
<include> <uri> https://fuel.gazebosim.org/1.0/OpenRobotics/models/Coke </uri></include>前一种方法会在运行时下载模型。若要永久保存模型,可以从 Fuel 下载后按如下方式引用:
<include> <uri> model://Coke </uri></include>需要将 GZ_SIM_RESOURCE_PATH 环境变量设置为模型所在文件夹的父文件夹。例如,如果目录结构如下:
world_tutorial<br/>├── Coke <br/>└── world_demo.sdf那么应将其设置为 world_tutorial 目录,如下所示:
export GZ_SIM_RESOURCE_PATH="$HOME/world_tutorial"
运行世界:
gz sim world_demo.sdf
应能在世界原点看到该模型。
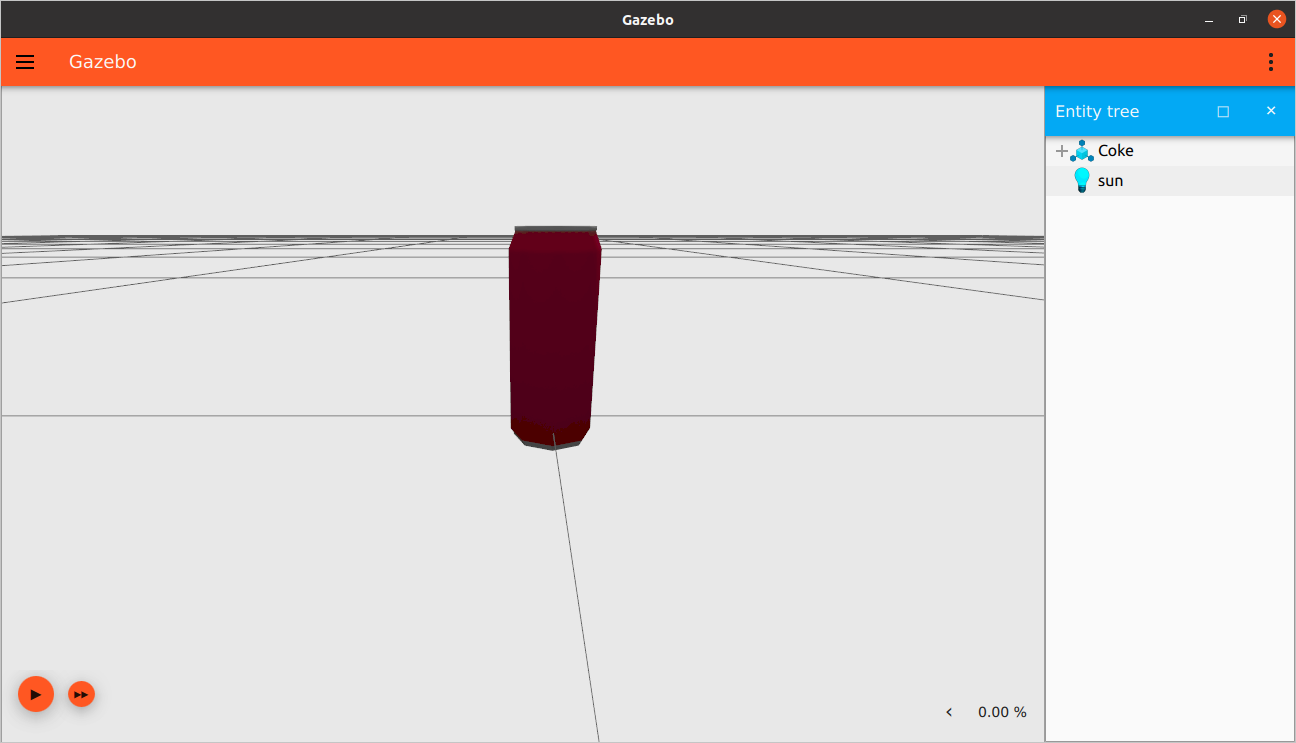
也可使用 <pose> 标签设置其坐标。如需生成同一模型的多个实例,则必须使用 <name> 标签为它们指定不同的名称。
<include> <name>Coke0</name> <pose>0 0 0 0 0 0</pose> <uri>https://fuel.gazebosim.org/1.0/OpenRobotics/models/Coke</uri> </include> <include> <name>Coke1</name> <pose>0 0.1 0 0 0 0</pose> <uri>https://fuel.gazebosim.org/1.0/OpenRobotics/models/Coke</uri> </include>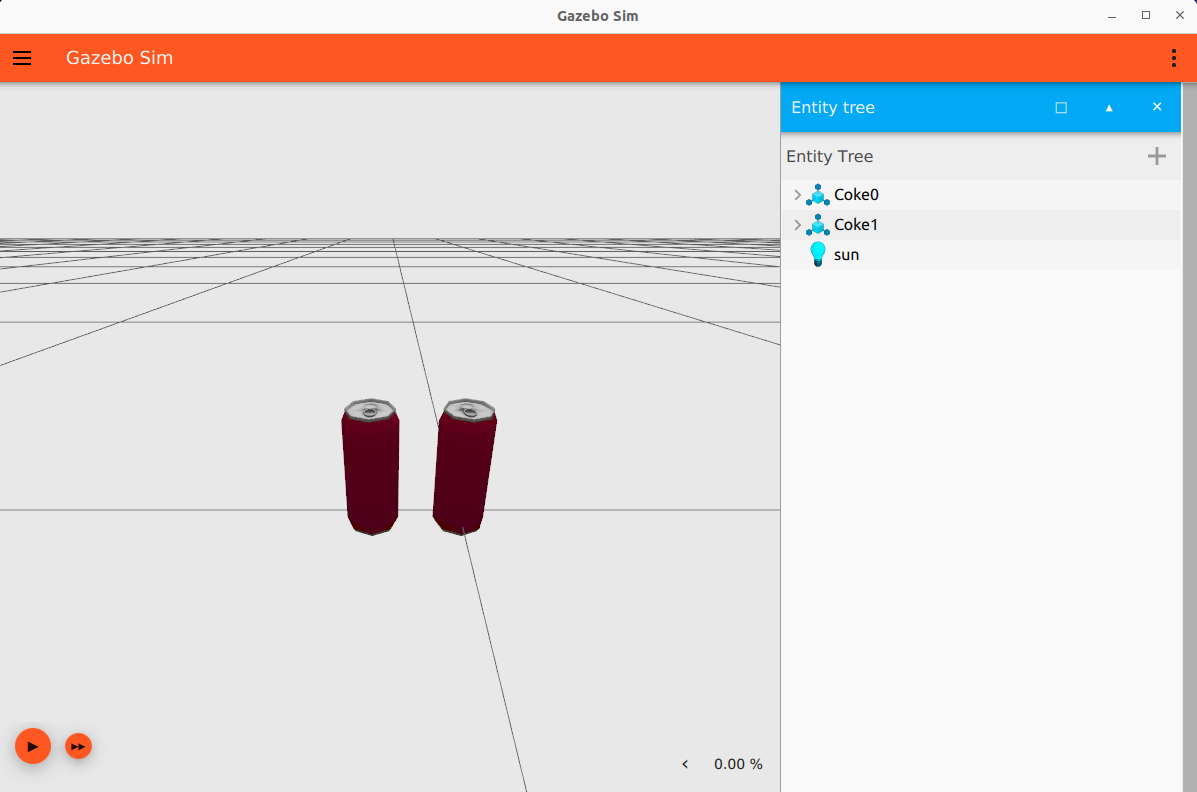
至此已拥有自定义世界。下一个教程 将介绍如何向机器人添加传感器,使其能够与周围世界交互。
本教程的视频演示可在 YouTube 频道观看:Gazebo tutorials: Creating worlds。